A Snapchat filter is a special effect you can add to your photos or videos on Snapchat. It can change the look of your image with fun graphics, text, or animations. These filters are designed for specific locations or events, and they make your snaps more interesting and personalized. Snapchat filters are a great way to engage with your followers and add creativity to your posts.
Creating a filter for your event is a fun way to make the experience more memorable. It lets your guests share their moments with a unique touch. Having a custom filter can also help promote your event, as guests may share their snaps with their friends. It’s an easy way to boost engagement and make your event stand out.
Table of Contents
Preparing for Your Snapchat Filter
Before you create a Snapchat filter for your event, consider the type of event you’re hosting. Whether it’s a wedding, birthday, or corporate gathering, each event requires a unique filter design. Think about the theme, colors, and overall vibe. For example, a wedding filter might have elegant fonts and soft colors, while a party filter could be bold and colorful. This ensures the filter aligns with your event’s atmosphere.
Next, it’s important to understand Snapchat’s guidelines for filters. Snapchat has specific rules for size, resolution, and file formats. Filters should be at least 1080×1920 pixels and must have a transparent background. There are also restrictions on logos or promotional content. Following these rules helps your filter get approved.
Also, consider the location and timing of your filter. Snapchat filters are location-based, so you need to set up a geofence around your event. Proper preparation is key to creating a successful filter. Understand your event’s theme, follow Snapchat’s rules, and plan the location and timing. This will help you create a personalized, engaging filter for your event.
Designing Your Snapchat Filter
Choosing a Design Tool
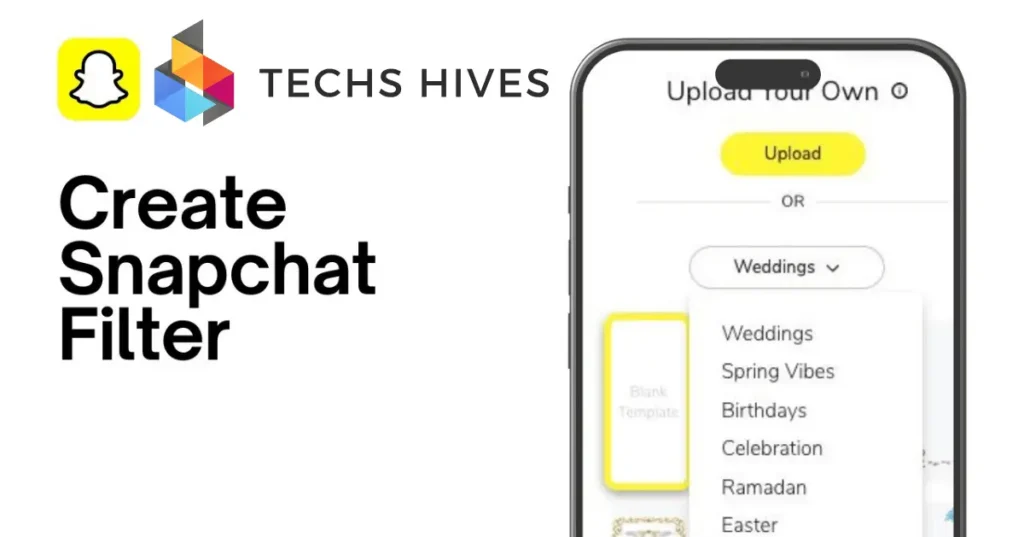
Designing your Snapchat filter starts with selecting the right tool. You can use programs like Adobe Photoshop or Canva to create your filter. Make sure to work with the correct dimensions of 1080×1920 pixels, as required by Snapchat. The design should have transparent areas to avoid covering too much of the photo or video.
Aligning the Design with Your Event’s Theme
Keep your event’s theme in mind when designing your filter. Use colors, fonts, and graphics that reflect the mood of the event. For a wedding, soft pastels and elegant fonts may be suitable, while bright colors and playful elements work well for a party. Make sure the filter is clear and easy to see, even on small screens, by avoiding too many details.
Leave Space for Visibility
Snapchat recommends leaving space around the edges of the filter. The center should stay clear so that users can see their faces and the background. You can add a subtle logo or text that doesn’t distract from the main image. Ensuring your design fits Snapchat’s guidelines will help with approval.
Submitting Your Filter to Snapchat
Step-by-Step Submission Process
Once your filter is ready, it’s time to submit it to Snapchat. First, log into your Snapchat account and go to the “Create” section on the website. Choose “GeoFilter” and upload your filter design. Make sure the file is in the correct format, either PNG or JPEG, and meets Snapchat’s size and transparency requirements. Then, fill out the details, such as the filter’s name and description.
Setting Your Event’s Geofence
Next, set up the geofence around your event venue. This is the area where your filter will be active. You can use Snapchat’s map to draw the boundary and choose the size of the geofence. Ensure the area covers the venue and any surrounding locations where people will be using the filter.
Choosing the Timeframe
You’ll also need to choose the time period for your filter. Snapchat allows you to select the start and end times for when the filter will be available. Be sure to select the correct times that align with your event schedule, giving guests enough time to use the filter during your event.
Testing and Reviewing the Filter
Before your event, it’s crucial to test your Snapchat filter on different devices to ensure compatibility. Check how the filter appears on both Android and iOS phones, making sure it looks good in both portrait and landscape modes. Ensure the design is clear and doesn’t cover too much of the photo or video. Testing across various devices will help guarantee that everyone can enjoy the filter without any issues.
Next, test the geofence you set up for your event. Use Snapchat to check if the filter activates correctly within the designated area. Walk around the venue to see if the filter appears as expected in different locations. This will confirm that your filter is accessible to all your guests and works in the right spots.
Also, review how the filter interacts with the users’ photos or videos. Make sure it doesn’t obscure important parts, like faces or key backgrounds. Test it in different lighting conditions to ensure the filter remains visible and doesn’t cause issues in both bright and low-light settings.
Promoting Your Filter
Promoting your Snapchat filter is key to ensuring your guests use it and share their moments. Start by letting your attendees know about the filter before the event. Use your event invitations, emails, or social media to inform them that a special filter will be available. Include a sneak peek of the design to build excitement. The more people know about it in advance, the more likely they are to use it.
During the event, encourage guests to use the filter by creating signage or mentioning it during speeches or announcements. Make sure to remind them how to access and apply the filter. You can even create a social media hashtag that guests can use when posting their snaps with the filter. This will help spread the word and promote your event to a wider audience.
After the event, continue the promotion by sharing some of the best snaps with the filter on your own social media accounts. This not only shows off the filter but also keeps the event in your guests’ memories. Encourage your guests to do the same, which will keep the engagement going long after the event ends.
Monitoring the Success of Your Filter
Monitoring the success of your Snapchat filter is essential to see how well it performed during your event. Snapchat provides analytics for your filter, which show how many people used it, how many snaps were sent with it, and the total number of views. You can access these stats through Snapchat’s platform after your event to evaluate the filter’s reach.
In addition to the numbers, pay attention to user feedback. Look at how people are engaging with your filter on social media. Check for posts, comments, and hashtags related to the filter to see how people responded. Positive feedback and a high number of shares indicate that the filter resonated well with your audience.
It’s also helpful to track the geographic spread of your filter usage. Snapchat shows where your filter was used, allowing you to see if it reached the intended location and attracted a larger audience than expected. This information can guide future event planning and filter creation, helping you refine your strategies for next time.
Conclusion
Creating a Snapchat filter for your event is a fun and effective way to engage guests and make your event more memorable. By following the steps to design, submit, and promote your filter, you can enhance the overall experience for attendees. A personalized filter adds a unique touch to your event and encourages social sharing.
After your event, monitor the success of your filter using Snapchat’s analytics. This helps you understand its impact and gives you valuable insights for future events. With proper planning and creativity, your Snapchat filter can leave a lasting impression on your guests.